
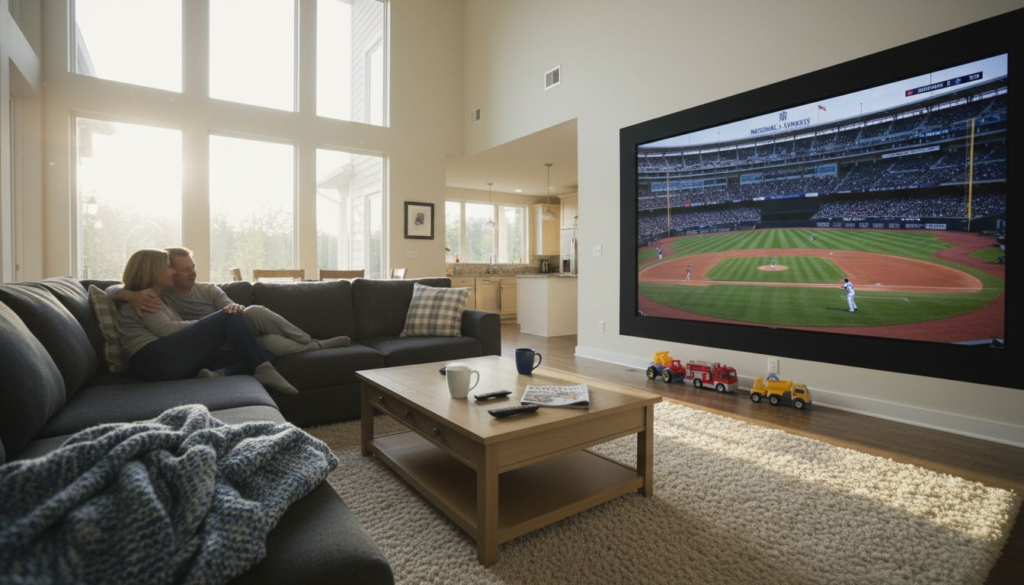
Homeowners looking to redefine their entertainment space often discover that a custom LED video wall paired with smart home integration completely transforms how they experience media. Selecting the right system means more than just size or display quality. Effective space planning and advanced LED technology are key to creating a vibrant, immersive environment that feels both luxurious and connected. This guide walks you through proven design strategies and technical choices for building a truly stunning, interactive home centerpiece.
Table of Contents
- Step 1: Assess Your Space and Visual Goals
- Step 2: Select The Perfect LED Video Wall System
- Step 3: Plan Wiring and Smart Home Integration
- Step 4: Install Wall Panels and Mounting Hardware
- Step 5: Calibrate, Test, and Optimize Your Video Wall
Quick Summary
| Key Insight | Explanation |
|---|---|
| 1. Assess Room Dimensions Carefully | Measure room size and existing furniture to optimize wall layout for the video display. |
| 2. Choose the Right LED System | Select an LED video wall system based on pixel pitch, brightness, and durability to enhance viewing experience. |
| 3. Plan for Wiring and Integration | Develop a robust wiring and smart home integration plan to support network stability and performance. |
| 4. Prioritize Professional Installation | Hiring a professional ensures secure mounting, precise alignment, and mitigates potential installation problems. |
| 5. Calibrate Panels for Consistency | Conduct thorough calibration to achieve uniform image quality, color accuracy, and seamless panel performance. |
Step 1: Assess Your Space and Visual Goals
Designing an immersive home video wall begins with a strategic assessment of your living space and entertainment objectives. Understanding how to optimize your room’s layout and visual potential is critical for creating a stunning multimedia experience.
Start by carefully measuring your designated area, considering key factors like room dimensions, existing furniture placement, and potential viewing angles. Interior space planning strategies reveal that successful video wall integration requires thoughtful consideration of room geometry and functional requirements.
Your assessment should focus on several crucial elements:
- Room dimensions and wall space available for video display
- Natural and artificial lighting conditions
- Seating arrangement and viewer sight lines
- Aesthetic goals and design compatibility with existing decor
- Potential audio integration requirements
Carefully evaluate how the video wall will interact with your room’s existing architectural features. Will it serve as a focal point or blend seamlessly into the background? Understanding these nuances helps create a truly immersive environment that enhances your living space.
Strategic room assessment transforms a simple video display into a sophisticated entertainment centerpiece.
Pro tip: Take multiple photographs of your space from different angles to help visualization and planning during the design process.
Step 2: Select the Perfect LED Video Wall System
Choosing the right LED video wall system transforms your home entertainment experience from ordinary to extraordinary. Your goal is to find a solution that seamlessly blends technological performance with your unique aesthetic and functional requirements.
LED technology offers remarkable display capabilities, presenting homeowners with advanced options for creating immersive visual environments. When evaluating potential video wall systems, consider these critical selection criteria:
- Pixel pitch and resolution quality
- Overall screen size and aspect ratio
- Brightness levels and color reproduction
- Energy efficiency and power consumption
- Long-term durability and maintenance requirements
Understanding the technical specifications is crucial. Modern video wall configurations typically feature narrow bezels and modular designs that allow for customizable layouts, enabling you to create a display that perfectly matches your space and vision.
The right LED video wall system is an investment in your home’s entertainment potential.
Pro tip: Request product demonstrations and color calibration samples before making a final purchase to ensure the video wall meets your precise visual expectations.
Step 3: Plan Wiring and Smart Home Integration
Creating a seamless video wall experience requires meticulous planning of wiring and smart home connectivity. Your goal is to develop a robust network infrastructure that supports stunning visual performance while enabling comprehensive home automation.
Smart home device connectivity involves understanding various wireless protocols and integration strategies. Successful implementation means carefully mapping out your network topology to ensure reliable communication between your video wall and other smart home components.
Key considerations for your wiring and integration plan include:
- Wireless network infrastructure and potential interference zones
- Compatibility between different communication protocols
- Backup connectivity options for uninterrupted performance
- Power management and electrical circuit requirements
- Cable management and aesthetic concealment techniques
Addressing potential connectivity challenges early in the planning process can prevent future performance issues. Professional consultation can help you design a network that supports both your video wall and broader smart home ecosystem.
Here’s a summary of smart home integration protocols you may encounter:
| Protocol | Typical Use Case | Main Benefit |
|---|---|---|
| Wi-Fi | Media streaming devices | High bandwidth |
| Zigbee | Lighting and sensors | Low power, mesh network |
| Z-Wave | Home automation controllers | Reliable, regional support |
| Bluetooth | Short-range connectivity | Quick device pairing |
A well-planned smart home integration transforms technology from complex to convenient.
Pro tip: Consider consulting a professional home theater integration specialist who can map out a comprehensive wiring strategy tailored to your specific space and technological requirements.
Step 4: Install Wall Panels and Mounting Hardware
Successfully installing your video wall requires precision, careful planning, and technical expertise. Your objective is to create a secure, aesthetically pleasing mounting system that supports your video panels perfectly and ensures long-term stability.
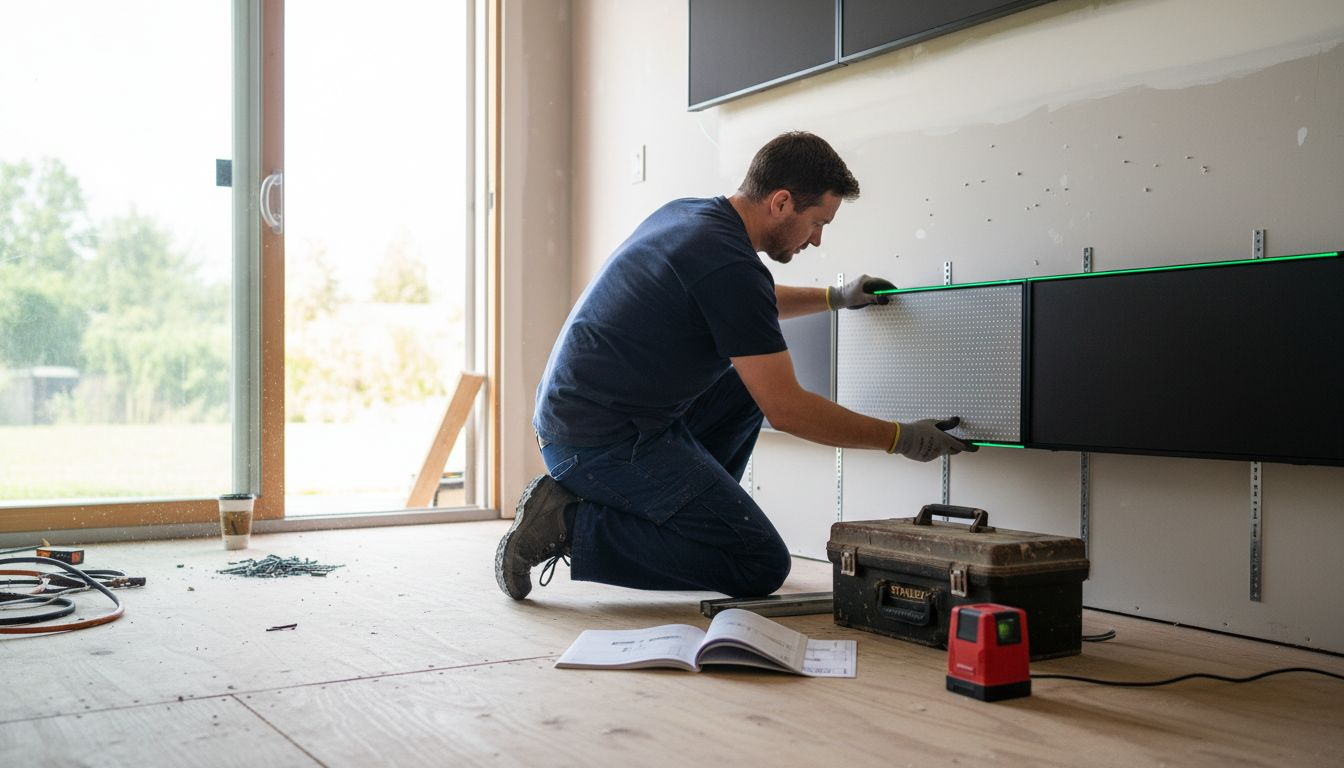
Wall mounting video panels demands meticulous attention to detail, starting with selecting the right mounting hardware for your specific display configuration. Understanding the technical requirements will help you avoid common installation pitfalls.
Key installation considerations include:
- Precise stud location and wall material assessment
- Weight distribution and panel compatibility
- Mounting hole alignment with industry standards
- Cable management and concealment strategies
- Structural integrity of the mounting system
Understanding VESA mount standards is crucial for achieving a professional-grade installation. These standardized mounting specifications ensure your video wall panels connect securely and uniformly, creating a seamless visual experience.
Here’s a comparison of common video wall mounting methods and their unique benefits:
| Mounting Method | Best For | Key Advantage |
|---|---|---|
| Fixed Wall Mount | Dedicated theater rooms | Slim profile, sturdy installation |
| Tilting Wall Mount | Living rooms with glare | Easy vertical angle adjustment |
| Full-Motion Wall Mount | Multi-purpose spaces | Flexible viewing positions |
| Freestanding Mount | Rented or temporary spaces | No wall drilling required |
Professional installation transforms complex technology into a stunning visual centerpiece.
Pro tip: Consider hiring a professional installer who can guarantee precise alignment and prevent potential damage to expensive video wall components.
Step 5: Calibrate, Test, and Optimize Your Video Wall
Transforming your video wall from a basic display to a precision visual system requires meticulous calibration and testing. Your ultimate goal is achieving seamless image quality, color accuracy, and uniform performance across every panel.
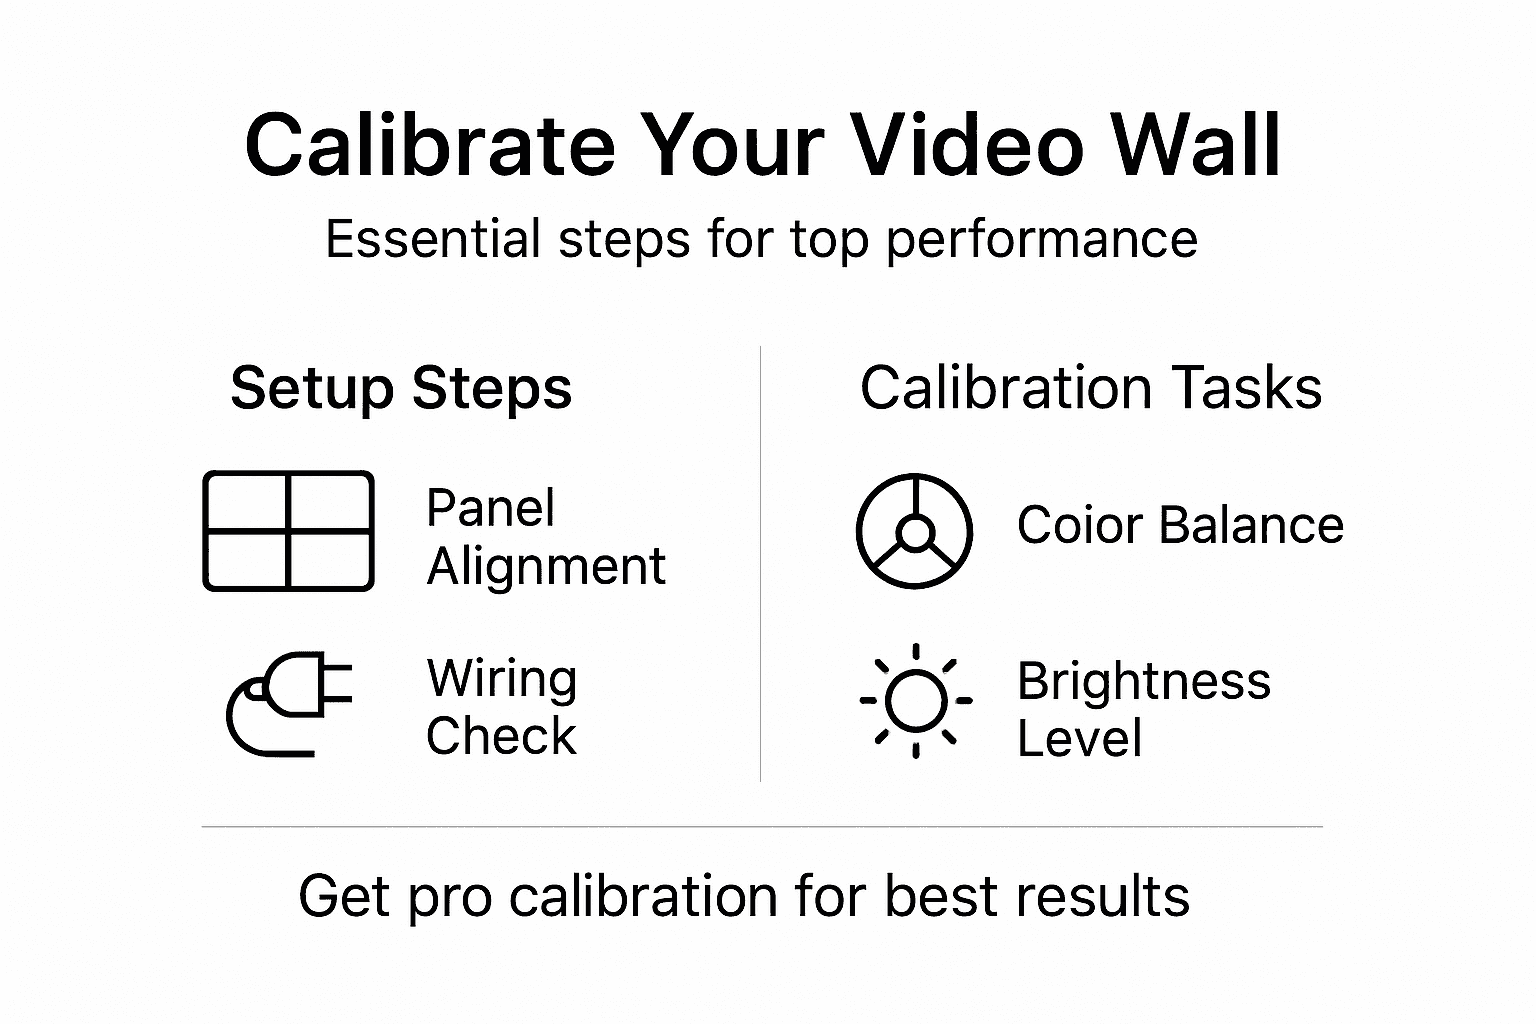
Video wall calibration techniques involve sophisticated methods to align display panels with exceptional precision. Professional calibration ensures that each panel matches its neighbors perfectly, creating an immersive and visually consistent experience.
Key optimization steps include:
- Color balance and uniformity assessment
- Brightness level matching across panels
- Geometric alignment and edge blending
- Distortion correction techniques
- Input signal synchronization
Advanced testing methods utilize computer vision libraries to calculate intrinsic and extrinsic parameters, enabling precise adjustments that elevate your video wall’s visual performance. These technical approaches help identify and correct subtle imperfections invisible to the naked eye.
Precision calibration transforms a collection of panels into a single, breathtaking visual canvas.
Pro tip: Invest in professional calibration services or specialized test pattern generators to achieve the most accurate and consistent video wall performance.
Elevate Your Living Space with a Customized Video Wall Experience
Designing an immersive home video wall requires expert planning across space assessment, LED system selection, wiring integration, installation, and meticulous calibration. Many homeowners face challenges ensuring seamless smart home connectivity and precise panel alignment that transforms fragmented screens into one flawless display. If you want to overcome these hurdles and achieve a stunning, professionally integrated video wall that fits your unique space and viewing goals Atlanta Home Theater is your trusted partner.
Our team of over 40 trained professionals specializes in creating custom LED video walls with smart home integration perfected over decades of experience. Whether you are refining the room layout or need advanced wiring and calibration services explore our Sound Advice Archives – Atlanta Home Theater to learn more about optimizing your home entertainment setup. Ready to transform your vision into a breathtaking reality take the first step by visiting Atlanta Home Theater and scheduling a consultation today. Experience cutting-edge technology, expert installation, and seamless automation crafted just for your immersive living space.
Frequently Asked Questions
How do I assess my living space for a home video wall?
Start by measuring your room’s dimensions and noting the wall space available for the video display. Also, evaluate factors such as natural and artificial lighting, seating arrangements, and how the video wall will fit with your existing decor.
What should I consider when selecting an LED video wall system?
Focus on critical aspects such as pixel pitch, resolution, screen size, brightness levels, and energy efficiency. Make sure to compare specifications and request product demonstrations to find a system that matches your visual goals.
How do I plan for smart home integration with my video wall?
Develop a robust wiring plan and ensure compatibility between smart home devices and communication protocols. Consider the layout of your wireless network and include backup options to avoid interruptions, which will create a seamless integration experience.
What are the key steps for installing wall panels and mounting hardware?
Begin with identifying the stud locations and assessing the wall material to select the appropriate mounting hardware. Pay attention to weight distribution and cable management to ensure your video wall is securely and aesthetically installed.
How can I calibrate and optimize my video wall for the best performance?
Perform calibration by assessing color balance, matching brightness levels, and aligning the panels geometrically. Utilize advanced testing methods to make precise adjustments that enhance image quality across the entire display.
What common mistakes should I avoid during the installation of my video wall?
Avoid overlooking the importance of precise measurements and professional installation techniques. Neglecting proper cable management and alignment can lead to visual inconsistencies and stability issues that detract from the overall experience.
Recommended
-
- How to Design A Media Room for Ultimate Home Entertainment – Atlanta Home Theater
- 7 Types of Home Theaters You Can Consider Today – Atlanta Home Theater
- 7 Essential Features of Private Cinemas for Luxury Homes – Atlanta Home Theater
- Why Whole-Home Integration Elevates Luxury Living – Atlanta Home Theater